Thursday, December 16, 2010

Pizza that is still good for you!


I feel I have been holding back a golden gem - and that is my pizza crust made with spelt flour.  Having just made it again this weekend, I was totally blown away with how spectacular the pizza tasted and my family agreed.  I load ours up full of veggies and home-made sauce too so it still classifies as a healthy meal to enjoy.  And yes, it does have cheese but a mix of mozza and Sheep Feta.  Mmmm...I could eat this every day!  Hope you enjoy it as much as we do.

The Foundation: Spelt Crust
This recipe was influenced from "Benefit of the Dough" in Eat, Shrink and Be Merry.
1 1/2 cups spelt flour (plus more for rolling out the dough)
1/2 tsp xanthan gum*
½ tsp salt
2 Tbsp ground flax
2 1/4 tsp instant yeast (or one packaged envelope)
2/3 cup warm water
1 Tbsp Olive Oil
1-2 Tbsp cornmeal (optional but recommended)*


Combine the first 5 dry ingredients in a glass bowl and mix well. Create a hole in the middle of the dry mixture right to the bottom of the bowl and add in the water and oil. Knead the dough a few minutes by hand or stir as much as possible. Allow the dough to rest and rise for about 20 minutes or more in a warm place. I often will let mine sit for an hour or more and it is still great.  For my “warm place”, I preheat my oven slightly to warm it up, turn the oven off and then leave the light on (keep it warm) and place the dough inside.


Makes a great crust for a pan measuring 10 x 15 inches. If using the cornmeal, sprinkle it on your pan before rolling out the crust. Roll out the dough directly into the pan on top of the cornmeal using extra flour as needed.

For rolling on the counter: you will definitely need extra flour as the dough is very sticky. Once rolled out, put the cornmeal on the pan and lay the dough on top.
Pre-bake the dough undressed for about 10 minutes at 400F to ensure no soggy crust.

Once it has baked, you could allow it to cool and freeze it for future use. Otherwise, load it up with your sauce and toppings and bake again for 8 – 10 minutes.

The Middle Sauce:
1- 5oz can tomato paste (make sure no sugar is added in the paste)
5 oz water (just fill the can previously holding the paste)
1 tsp oregano
1 tsp basil
3/4 tsp salt
1 clove garlic - crushed
1/2 tsp pepper
Mix all the ingredients in a bowl and layer on pizza.

The Top Stuff:
Our pizza usually contains a combination of the following: Artichokes, zucchini, pepper, sun dried tomatoes, tomatoes, olives, red onion, chicken, feta, and mozzarella.


Cook’s notes:
Xanthan Gum: This ingredient is key to making a stronger dough as it creates a glutenous property to the dough. You can make this dough without the xanthan but the crust will be more crumbly and softer. With the Xanthan gum, you get a fabulous crust every time!  I purchase Xanthan at a bulk food store or health section of a larger grocery store.

Cornmeal: this little bit of cornmeal at the bottom of the pan helps your crust to bake better from the bottom. It actually allows the hot air to flow between the dough and the pan allowing the crust to crisp up better than without. Worth a try and super cheap to buy.

Rolling out the dough: I do this right in my baking pan which is a Pampered Chef Large Bar Pan. Why not save a step and have less to clean up.


Monday, September 20, 2010

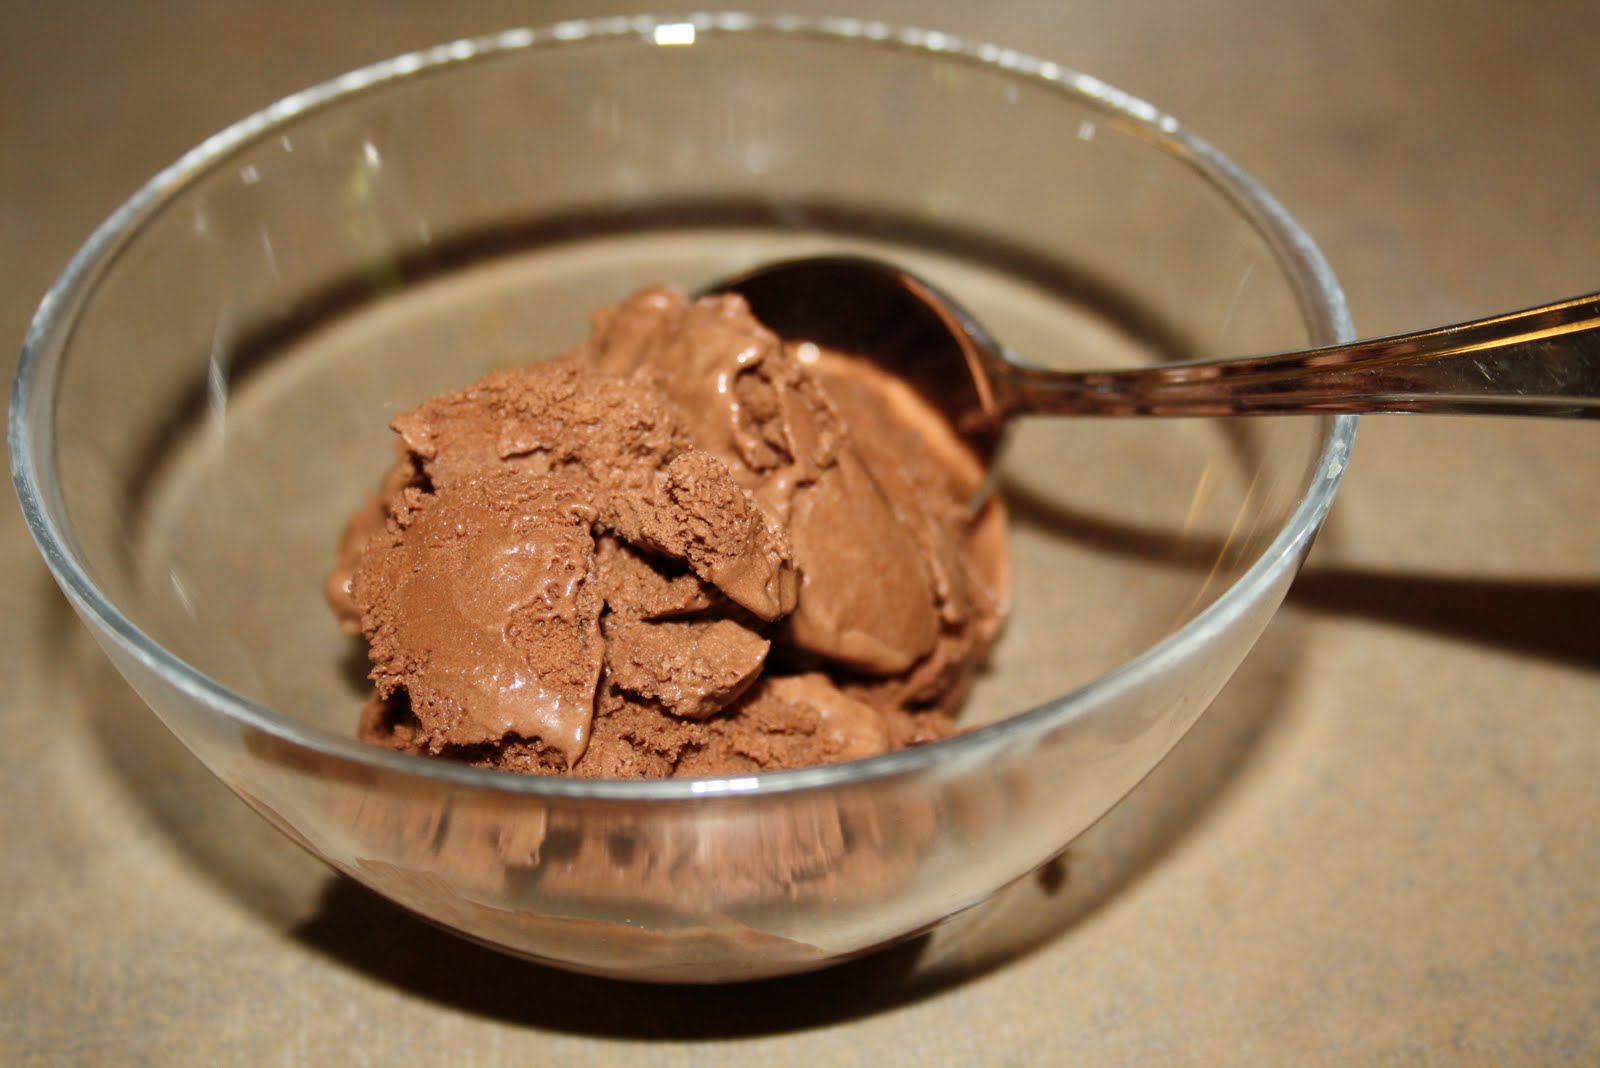
Chocolate Coconut Milk Ice Cream

I love to enjoy ice cream...any time of the year.  So when I was told to remove all dairy from my child's diet, I had the dilemma of how to enjoy ice cream without her being left out (she also loves ice cream!).  And while you can find dairy-free ice cream in the store, the cost for the size was just too much - and still loaded with sugar.  Then I came across this recipe.  The recipe came from a website so to be fair to all, I will only post the few simple ingredients but leave you with the website link so you can check it out. Really worth a try. Super simple,  very delicious and really cheap to make compared to buying dairy-free options. And if you don't have an ice cream maker, don't stop reading here.  See the cook's notes below for an alternate ideas.


Chocolate Coconut Milk Ice Cream

Coconut Milk
Cocoa powder
Agave nectar *
Vanilla extract
Ice cream maker*
* = see cook's notes below


www.thenourishinggourmet.com/2008/05/chocolate-coconut-milk-ice-cream-2.html


I am such a lover of ice cream – no matter what the season is. This one ranks pretty high for me in the like department. Especially since it is simple and cheap.


Cook's Notes:
Toasted Coconut: I personally enjoyed adding toasted Unsweetened coconut on top of my ice cream.  Does that not look delicious?!  If you have never toasted coconut before, use a frying pan on medium heat and stir until it is lightly browned.  Do not add any oil or butter, just dry coconut.  I do mine in my toaster oven - just faster.  Just be sure to watch it closely cause it can burn quickly once it is heated.
 
Agave Nectar: This is a more natural, sweet syrup that can replace sugars and has an extremely low Glycemic Index (it does not impact your blood sugar very much).  I buy mine in the Health-food Section of the Zehrs store.  It is a costly bottle, however good to have on hand for certain foods that apple butter may not work well for.  Other options to use would include maple syrup or honey if you prefer.

Ice Cream Maker: So here are some options...
1. If you don't have one, check with a friend who might have one that you could borrow.  If you don't have a "borrow-from friend", you should find one of those too!  I love mine!
2. If you love ice cream and have always wanted one, try buying it second-hand.  I got mine off of kijiji and it was used once.  Many people get them as gifts I guess and never use them.
3.  You can always go big and buy a new one.  Perhaps you know you will make good use of one that is new.
4. The other option is to make the ice cream and just put the bowl in the freezer.  Stir it every half hour or so until it is slushy/frosty-like.  This may take several hours.  It is not the same as a maker but better than never having tried a recipe as such. 

Tuesday, September 7, 2010

Leftover Salad for two!

The other night I needed supper, but had nothing planned as I was not supposed to be home for supper.  So I looked around my fridge and with the leftovers there, put together this wonderful salad!  So fresh, simple and a little Mexican!  Who does not love Mexican?!  I also really really like the dressing - creamy, sweet and a little spicy!  Great on many other salads as well.  Be sure to read the Cook's notes for other ideas on foods you could add in.


Mexican Fridge Salad


Dressing:
2 tbsp plain yogurt
1 tsp apple butter *
1/8 - 1/4  tsp cumin
juice of half lime (2 - 3 tsp)

Salad:
1 cooked cob of corn *
1 breast of Cooked/BBQ'd Chicken - cut into bite-size pieces
1/2 tomato - diced
1/2 avocado - peeled and diced
corn chips - preferable blue for best color contrast
Fresh Cilantro


In a small bowl, mix together the yogurt, apple butter cumin and lime juice and set aside.
In another bowl, combine the corn, chicken, tomato, avocado and plate it as a salad.  Top with corn chips, cilantro and drizzle/spoon the dressing over. 

This serves 1 - 2 people depending on your appetite and whether lunch, supper or a late-night snack.  To make for a bigger family/group, just add more of the things you like and double, triple or quadruple the dressing.


Cook's Notes:
Apple Butter: I always have the Wellesley Apple Butter in my fridge but recognize not all of you will or may have access to buy it.  In place of Apple butter, you could also try pure maple syrup or naturally sweetened apricot jam. 
Cob Corn: I happen to save leftover, uneaten corn cobs because they work great for add-ins to meals like this.  You could always use frozen corn kernels as well but perhaps let it thaw so you don't have frozen bites in the salad.
Other add-ins: Here are some other ideas of things you can add in to increase the amount of salad you have - rice, beans of any sort, peppers, jalapenos, jicama (a sweet Mexican potato), cucumber...be creative and empty the fridge!

Wednesday, August 25, 2010

Lentil Soup - for all seasons

 I made this soup the other day because I needed a quick and easy soup.  Even though it is hardly "hearty soup season",  it was still so delicious and so worth sharing.  Please don't wait till fall to give this one a try!

This recipe was passed on from my mother in-law and I "tweaked" it ever so slightly to suite my cooking style.


Lentil Soup


1 Tbsp Olive oil
1 medium onion - chopped finely
1 clove garlic
2 stalks celery - chopped finely
2 carrots - chopped finely
1 red pepper (or any color of your choosing) - chopped finely
1 1/2 cups red lentils
2 tsp cumin
1 tsp coriander
1 tsp paprika
1/2 tsp sea salt
5 cups chicken broth or stock *
2 Bay leaves
1/2 lemon - juiced (about 2 Tbsp)*
1/2 cup fresh cilantro - chopped finely


In a 4 quart pot, heat the oil and add the onions.  Saute the onions for a few minutes.  Add the garlic, celery, carrots and pepper.  Continue to saute for about 5 minutes - or more.  This process of "sweating" the veggies brings out a richer flavour providing you are not burning the veggies.  Add the seasonings and lentils.  Stir for a minute to infuse the flavours. 

Add the stock and bay leaves and bring the soup to a boil.  Once boiling, turn the heat down to a simmer and allow it to simmer for  20 - 30 minutes.  If you have the time, I would suggest simmering for a longer period (like 2 hours).

Just before serving, add in the lemon juice, cilantro and remove the bay leaves. We  like this soup served both hot and cold.  Try it and see what you prefer.


Cook's notes:
Finely chopped vegetables: My preference in a soup like this is to have all the veggies similar in size and in this case, that is dictated by the smaller lentil size.  They do not have to be tiny, but I prefer to cut my carrots in 4strips and then slice them to get quarter pieces rather than round coins.  You get the idea.

Chicken Broth: There is a chicken broth I found that is made without any sugars - yes, most chicken broth has added sugar. The problem for me is it is quite a bit more expensive so I opt for a cheaper, organic one that does have a bit of organic sugar.  A choice dictated by cost.  I do make my own stock as well without any sugars, but I typically save that process for fall/winter.  The store brand I like now is Pacific Foods Organic Chicken Broth purchased at Costco.

Stock vs Broth: Stock is made using bones and broth uses only meat.  Stock is usually "jelly-like" from the bone.  Either one are fine for soup but I would expect the stock has a deeper, richer flavour.  Maybe I will have to make my own to compare one day.
About the 5 cups...Most store-sold broths are 4 cups so this technically means opening two and having leftover broth.  So options are to add 4 cups broth and 1 cup water or you could try 1 cup apple juice in place of the water idea as well.  If you open the second carton of broth, consider freezing it for later use - just be sure to measure it and label the amount so you know exactly how much you have.

Lemon:  It may seem quite strange to add lemon juice at the end but I am learning that lemon juice "brightens" the flavour of many foods, including this soup.  I have left it out and thought it was fine but then added it in and wow!  I will add it from now on.   A"seasoned" chef once told me real lemon juice does not come out of a bottle.  Fresh really is best.